Tunic sewing pattern- Men's Sizes 2XS-4XL
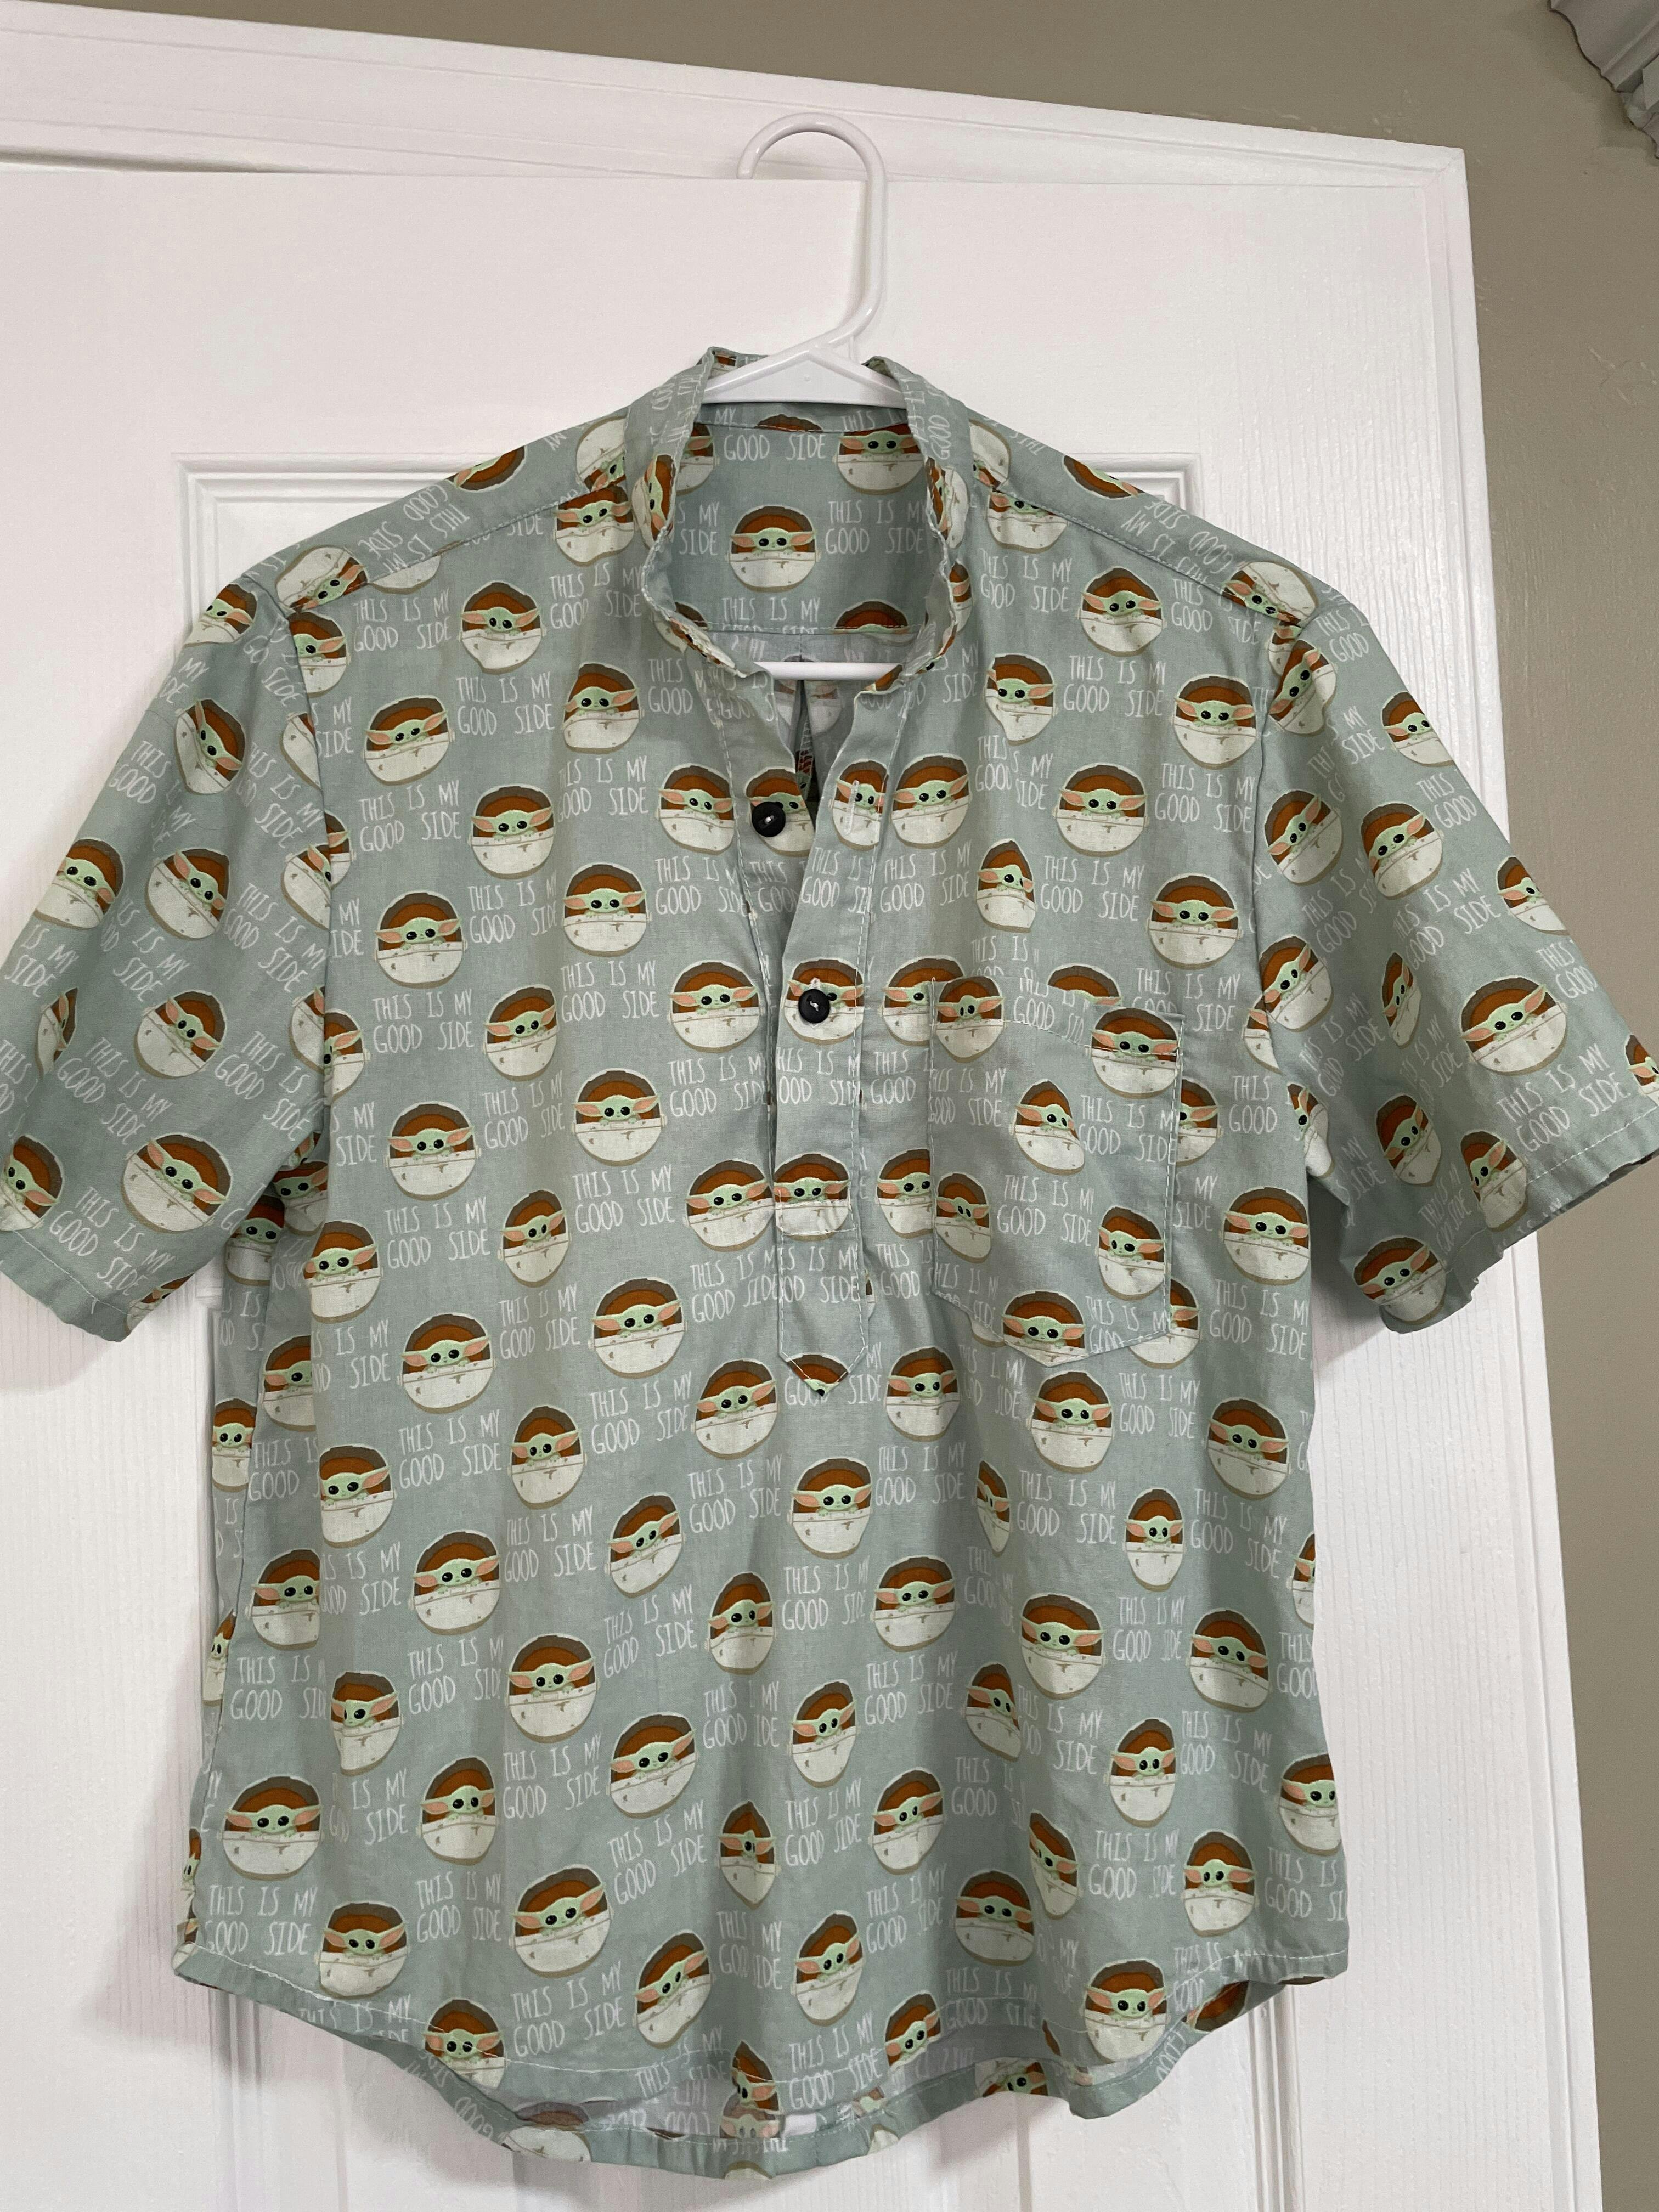
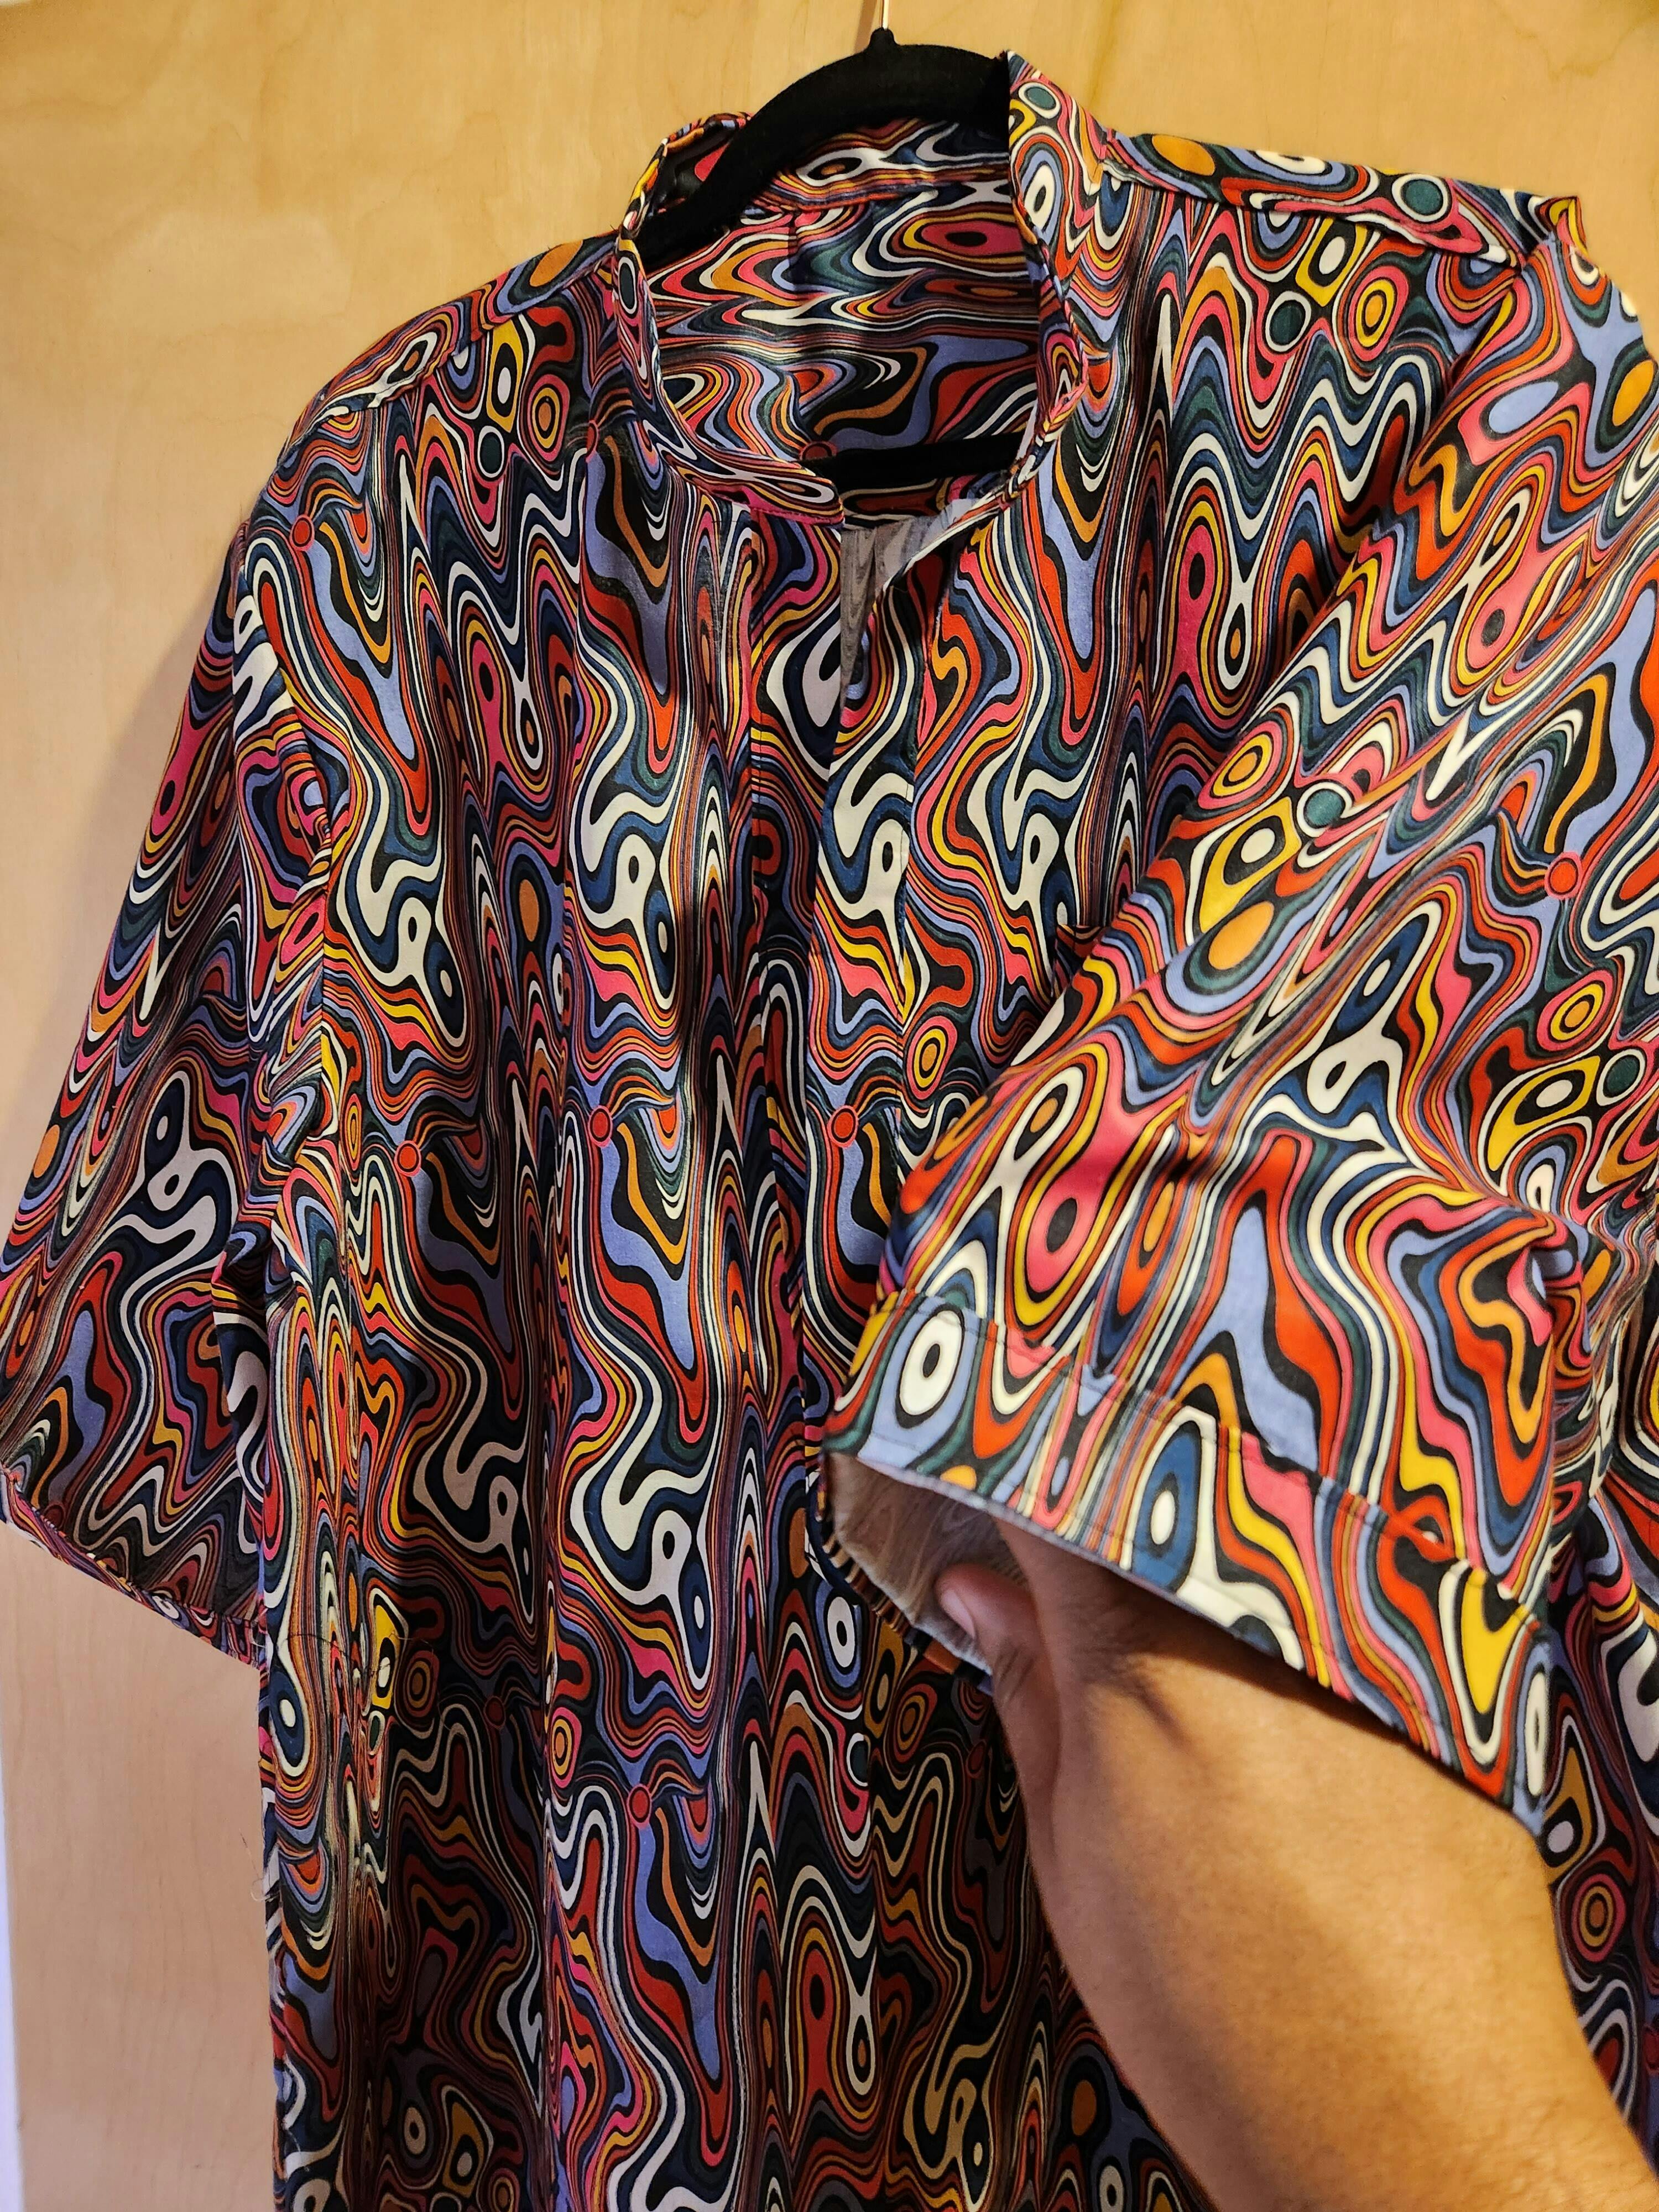
Our Men's Classic Tunic sewing pattern is a gorgeous pull-on tunic with a banded collar and four-button front placket. The double yoke with a center-back box pleat creates a comfortable, relaxed fit. Make the shirt Sewing pattern with two types of sleeves and a classic curved hem or a long straight body with side slits at the hem.
- Color PDF pattern printable on paper formats Letter, A4, A0, and separate projector file
- YouTube video Sew-along
- Banded collar
- 1/2 placket
- Side Slits
- Double Yoke
- Front Pocket
- Two sleeve options
- Straight Hem
- Curved hem
Flip through the images to find fabric requirements and measurements for this sewing pattern
The model stands 192cm tall and wears a size XL.
Skill level 3/4
The men's Tunic sewing pattern is straightforward. You learn how to sew a double yoke and a front placket. Sew along on YouTube.


What you need to make a Tunic with the sewing pattern
- Shirt-weight woven fabric
- Fusible interfacing
- Buttons
- Sewing thread
The Sewing pattern has the following features
- Layers
- Trimless pages
- Fully illustrated instructions
- Metric and imperial measurements
- A4, and letter paper format in color (42 pages)
- A0 printshop format in color (3 Pages)
- Projector file in color
- Seam allowances
- Youtube Video Sew-along
TO ENSURE ACCURATE PRINTING:
- Measure the square size on the first pattern page and verify your printer's scaling (2" x 2" / 5 cm x 5 cm).
- For optimal results, utilize A4 or Letter paper formats and print the document via Adobe Acrobat Reader.
- Download Adobe Acrobat Reader for free here.
- Find more help in our FAQ.
Elevate your sewing experience with The tunic Sewing pattern, crafted to empower you to create a wardrobe filled with timeless pieces that exude elegance and charm.
Join Our Creative Community
At Wardrobe by Me, we believe that sewing is more than just a craft—it's a way to express yourself, connect with others, and create something unique. We warmly invite you to join our vibrant community of sewing enthusiasts. By following us on social media, you'll stay updated with our latest pattern releases, receive valuable sewing tips, and get inspired by the incredible projects shared by our community members. You'll feel connected, supported, and part of something bigger than just sewing.
- Facebook: Join our Facebook group, where you can connect with fellow sewists, share your projects, ask questions, and get support directly from our team and other members. It's a space for learning, sharing, and celebrating your sewing journey.
- Instagram: Follow us on Instagram for daily inspiration, behind-the-scenes peeks, and highlights of your beautiful creations. Use the hashtag #WardrobeByMe to showcase your work and get featured on our page. Share the Tunic sewing pattern and use #WBMmenstunic
- YouTube: Subscribe to our YouTube channel for in-depth tutorials, sew-along videos, and expert tips that help you master new techniques and make the most of every pattern. With our comprehensive resources, you'll feel empowered and capable as you learn and grow your sewing skills.
Whether you want to expand your sewing skills, refresh your wardrobe with custom-made pieces, or enjoy the creative process, Wardrobe by Me supports you at every step. We welcome all levels of sewists and are committed to providing a welcoming and inclusive environment. Explore our wide range of patterns, connect with like-minded creators, and let's craft something beautiful together.
Thank you for choosing Wardrobe by Me. We're excited to see what you'll create, and we can't wait to celebrate your sewing successes with you!
How to Use PDF Sewing Patterns
Thank you for choosing our PDF sewing patterns for your creative projects! These digital PDF sewing patterns offer convenience and flexibility, allowing you to start sewing in no time. Below are detailed instructions on how to download, print, and tape the PDF patterns effectively:
Purchase and Download:
- Browse our collection of PDF sewing patterns on our website and choose the one that suits your project.
- After purchasing, download the pattern files to your computer. This process is usually instantaneous, and you'll have your pattern ready to use within minutes.
Print Selectively:
- One of the advantages of PDF patterns is the ability to print only the sizes you need. This saves both paper and ink, making the process more eco-friendly.
- Open the pattern file in Adobe Reader and select the specific size(s) you want to print before sending the document to your printer. Download Adobe Reader for free [here].
Easy Assembly:
Our sewing patterns boast trimless pages, a feature designed to streamline your assembly process. With trimless pages, you can effortlessly tape the pages together without the need to trim off any edges beforehand. This not only saves you time but also ensures precise alignment of the pattern pieces. Please refer to the detailed description available [here].
- After printing, arrange the pages according to the provided layout guide on page three in the instructions book. Use clear tape to join the pages together, ensuring that the lines and markings align perfectly.
- Read more about taping the pages together [here].
Additional Tips:
- Unzipping Files: You recieve the pattern in a compressed (.zip) format, simply double-click the file to unzip its contents. This will reveal the PDF pattern files ready for use. Remember to save the files on your device.
Printing Instructions:
- In Adobe Reader, navigate to the print settings to adjust paper size, orientation, and other preferences before printing your pattern. Ensure that your printer is set to "Actual Size" or "100% Scale" to maintain accuracy. Please find more details [here].
Pattern Support:
- Should you encounter any difficulties or have questions about using our patterns, feel free to reach out to us directly or join our community on Facebook for additional support and tips. We're here to help you make the most of your sewing experience.
Happy Sewing!
The WBM-team