Step-by-Step Photo Tutorial: Zipper Installation for Cargo Shorts
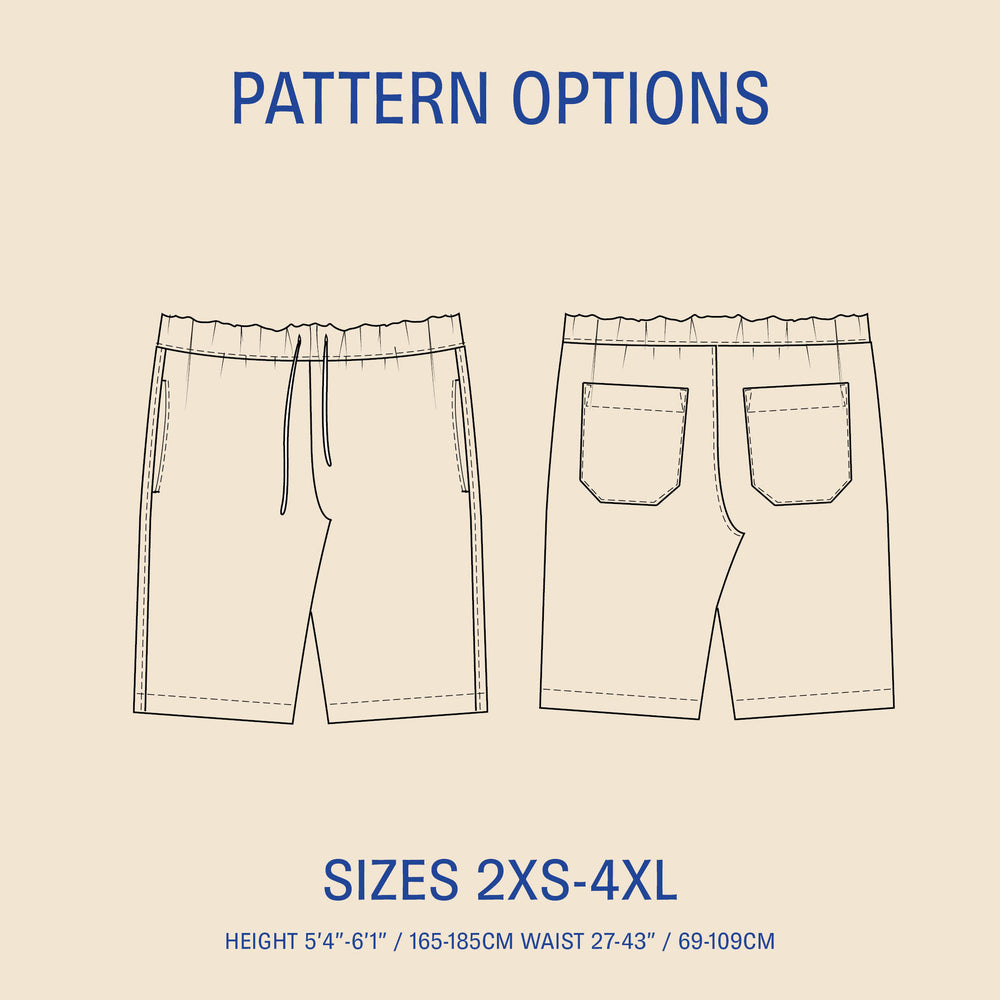
Follow these detailed instructions for the front zipper installation as outlined in the Cargo Shorts pattern from steps 21-28. You can also refer to the Chino Pants pattern for steps 14-21. Purchase the patterns here:
For additional practice and support, join the Wardrobe By Me pattern support group and find the pattern pieces for the zipper under files. Use a 5" (12 cm) zipper for this project.
Transfer the circle mark at the bottom of the front fly to the fabric. Place the front pieces right sides facing (RSF) and sew them together at the front crotch up to the circle mark. Baste from the circle mark to the waist.


Fold the fly pieces open and press. Turn the piece right side up, and topstitch from the waist to the crotch, 1/8” (3mm) on the right side of the fold.


Switch to a zipper foot. Flip to the wrong side and fold the front pieces to the left. Place the zipper face down, with the left side of the zipper tape against the fold. The zipper head should be 2” (5 cm) below the waistline. (For the chino pants, the zipper is placed 3/4" or 2 cm below the waistline). Pin and sew the right side of the zipper tape to the fly. Align the bottom of the zipper with the circle mark.

Flip the zipper right side up and understitch the zipper tape and seam allowance to the fly facing.

Flip the front pieces to the right, then pin and sew the other side of the zipper tape to the fly. Switch back to the regular presser foot.

Flip the pieces to the front and mark the bottom of the zipper, so you know not to sew through that point! Draw the shape of the fly with chalk, 1 ¼” (3.5 cm) from the center front. Sew the fly facing to the left front.

Fold the fly extension right sides together and sew the top and bottom. Turn right side out and press.

Sew the fly extension to the right side of the fly facing, placing it 3/8” (1 cm) below the waistline.

Turn the pieces to the right side and sew a bartack at the bottom of the fly.


Add bartacks as illustrated.

Unpick the front edge basting seam. You now have a functional front fly zipper. Add bartacks as illustrated.
Follow My Blog with Bloglovin
Discover step-by-step tutorials and sewing tips on my blog, and follow me on Bloglovin to stay updated with the latest posts! ✨
Watch the Tutorial on YouTube
For a visual guide, watch the detailed step-by-step video on YouTube.


